Adding subtitles to your videos in Adobe Premiere Pro is essential for accessibility, SEO, and viewer engagement. This comprehensive guide covers everything from manual methods to automated AI-powered solutions.
Quick Fact: Videos with subtitles get 40% more views and 80% higher completion rates. They're not optional anymore—they're essential.
Why Add Subtitles to Your Videos?
1. Accessibility
Subtitles make your content accessible to:
- Deaf and hard-of-hearing viewers
- Non-native speakers learning your language
- People in sound-sensitive environments
- Viewers with audio processing disorders
2. Better Engagement
Studies show that subtitled videos have:
- 40% more views on average
- 80% higher completion rates
- 12% longer watch time
- 15% more shares on social media
3. SEO Benefits
Search engines can index your subtitle text, improving:
- Video discoverability on YouTube
- Google search rankings
- Keyword targeting
- Content categorization
4. Global Reach
Subtitles in multiple languages expand your audience:
- Reach non-English speakers
- Enter international markets
- Increase revenue potential
- Build global community
Method 1: Manual Subtitles in Premiere Pro
Premiere Pro has built-in subtitle tools. Here's how to use them:
Step 1: Create a New Subtitle Track
- Open your project in Premiere Pro
- Go to File → New → Captions
- Choose format: Subtitle or Open Captions
- Select standard: CEA-708 (recommended)
- Click OK
Step 2: Add Subtitle Clips
- Open the Captions panel (Window → Captions)
- Click the + button to add a caption
- Type your subtitle text
- Adjust timing by dragging clip edges
- Repeat for each subtitle
Pros of Manual Method
- ✅ Complete control over timing
- ✅ No additional software needed
- ✅ Perfect for short videos
- ✅ Free (included with Premiere)
Cons of Manual Method
- ❌ Extremely time-consuming
- ❌ Prone to typos and errors
- ❌ Not practical for long videos
- ❌ Requires constant focus
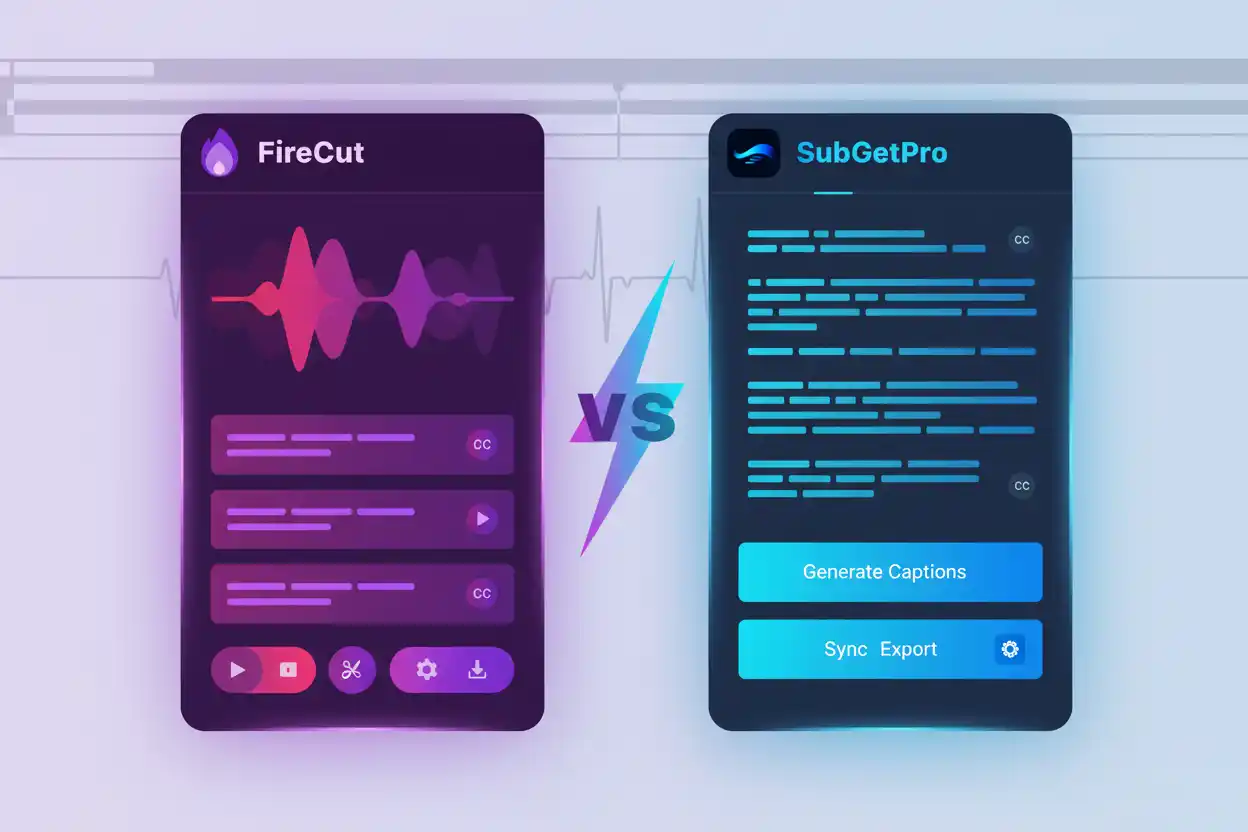
Method 2: AI-Powered Plugins (Recommended)
The fastest and most accurate method uses AI plugins like SubGetPro:
Using SubGetPro
- Install SubGetPro plugin
- Open plugin in Premiere Pro
- Select video clips in timeline
- Choose language (100+ available)
- Click Transcribe
- Edit in built-in SRT editor
- Import to timeline with one click
Why Use AI Plugins?
- ✅ 99% accuracy with Whisper AI
- ✅ 100+ languages supported
- ✅ 10x faster than real-time
- ✅ Works offline - no cloud uploads
- ✅ One-time payment - no subscriptions
- ✅ Built-in editor for corrections
Best Practices for Subtitle Timing
1. Reading Speed
Optimal subtitle duration:
- Minimum: 1 second (for short phrases)
- Maximum: 7 seconds (for long sentences)
- Ideal: 3-5 seconds per subtitle
- Reading speed: 15-20 characters per second
2. Line Breaks
Split subtitles properly:
- Maximum 2 lines per subtitle
- 42 characters per line (recommended)
- Break at natural pauses
- Keep phrases together
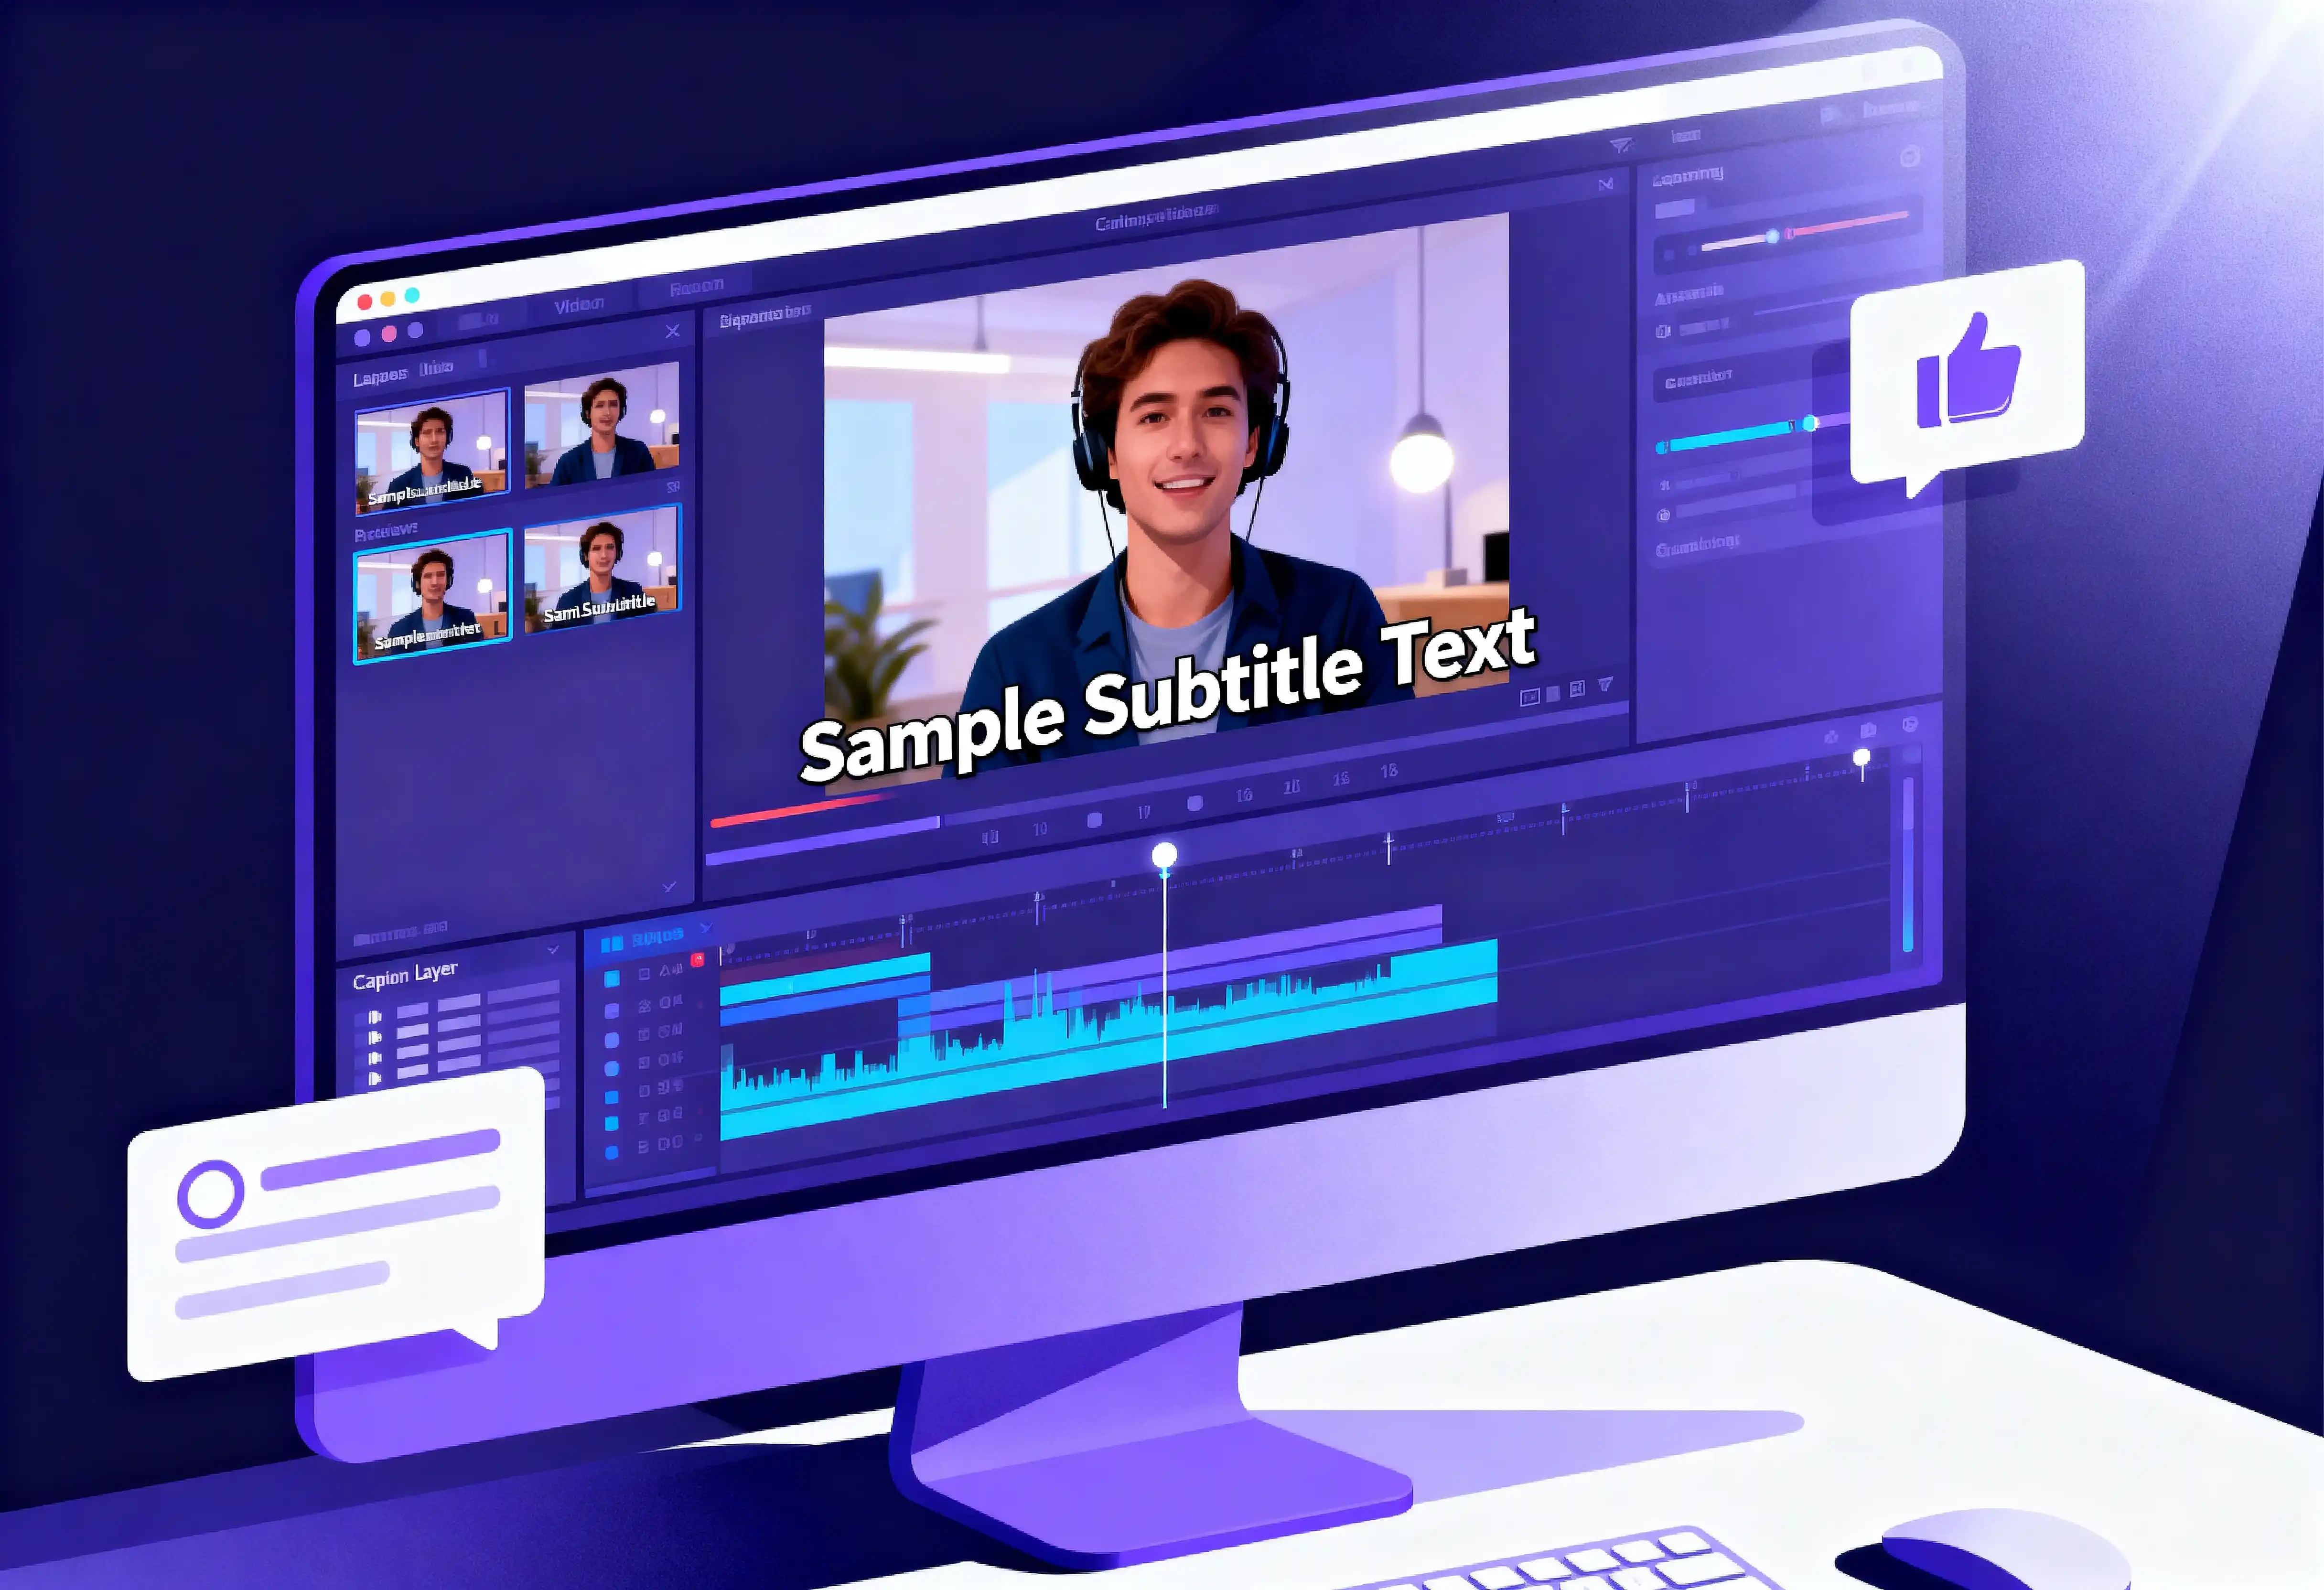
Subtitle Styling Best Practices
Font Selection
- Sans-serif fonts: Arial, Helvetica, Roboto
- Size: 48-60pt for 1080p video
- Weight: Bold or Semi-bold
- Avoid: Decorative or script fonts
Color and Contrast
- Text color: White or yellow
- Background: Black box with 70% opacity
- Outline: 2-3px black stroke
- Contrast ratio: Minimum 4.5:1
Conclusion
Adding subtitles to your Premiere Pro videos doesn't have to be tedious. While manual methods work for short clips, AI-powered tools like SubGetPro save hours of work while delivering professional results.
Key Takeaways:
- Subtitles increase views by 40% and engagement by 80%
- Manual transcription takes 2-3 hours per 10-minute video
- AI tools like SubGetPro reduce this to 1-2 minutes
- Proper timing and styling are crucial for readability
- SRT format is most compatible across platforms